Email: Functionality
The cuLearn Mail block allows you to email 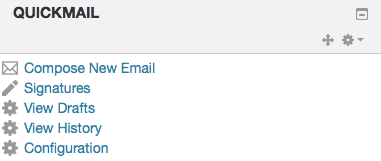 your TAs and students from your cuLearn course page. cuLearn emails are automatically sent to the recipient’s Carleton email address. Essentially, the cuLearn Mail block has only two functionalities: it can compose and send emails, and display the history of sent emails. The cuLearn Mail block cannot receive emails. cuLearn emails can only be received and accessed through your Carleton email by logging at MyCarleton Portal.
To Send Email in cuLearn Mail:
- Click Compose New Email in the mail block.
- Click on a recipient’s name or use one or more of the filter settings described below and then click Add (click on Add All if you want to email everyone in your course). All emails are Bcc’d by default: recipients of the same email do not see other students’ email addresses.
- Type the Subject and email Message. cuLearn will automatically prefix the Subject with your course short name when delivering the email. This makes it easy for the recipient to identify that the email was sent from your cuLearn course.
- If you want to Receive a copy of your email in your MyCarletonOne inbox, select that option by checking the ‘Yes’ box below the Message area (indicating you wish to receive a copy).
- Click Send Email or click Save Draft to send it at another time.
Role Filter 
You may filter the list of recipients by their role in the course. This is useful if you wanted to email only your TAs, for instance.
Potential Sections
You may choose to email all participants in one or more groups in the course. To select a group, press the Ctrl button on your keyboard and click on the name of the group who you wish to email. Continue to hold the Ctrl button in order to add additional groups, then click the Add button.
Potential Recipients
You can narrow down the list of Potential Recipients. Select an individual’s name (or hold Ctrl while clicking individual names to select multiple recipients), then click the Add button.
View History
This tool lists each email message you’ve sent.
Additional Email Addresses
This tool allows you to email someone outside of the course. You will need to manually type this additional email address.
Attachment(s)
To add an attachment to a cuLearn email, you can either drag and drop your document into the Attachment box (see image), or add it manually. Students MUST be logged into cuLearn in order to open an Attachment sent from cuLearn!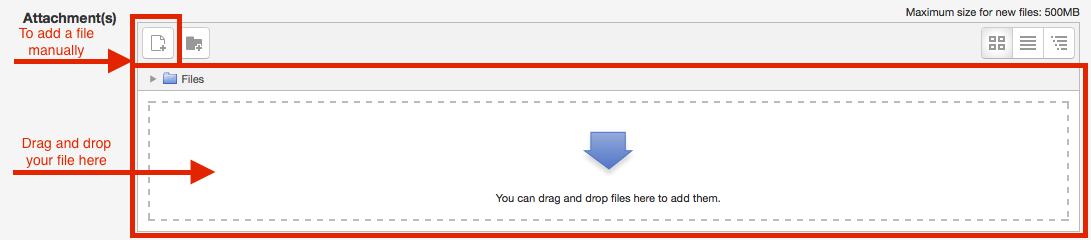
To add an attachment manually:
- Click the Add button (the Add button looks like a white sheet of paper with a grey + in the lower right corner).
- When the File picker appears:
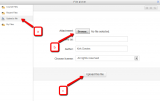
- Click Upload a file (‘a’ in above image)
- Click Browse to locate your file (‘b’ in above image)
- Click on the name of the file you would like to attach
- Click Open
- Click Upload this file (‘c’ in above image)
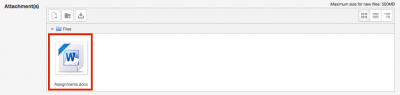
- The file has successfully uploaded when you see an image in the Attachment(s) box.


Receive a copy
When you send an email from cuLearn, by default, a copy of the email is also sent to your Carleton email address.
[top]